 how-to
Prepare Your Deck for Staining: A Step-by-Step Guide
Table of Contents
- Why Proper Deck Preparation Matters Before Staining
- Step 1: Inspect Your Deck and Assess Timber Condition
- Step 2: Deck Cleaning Before Staining, Removing Surface Contaminants
- Step 3: How Long to Let a Deck Dry Before Staining
- Step 4: Sanding a Deck Before Staining, Surface Preparation
- Step 5: Repairs and Final Preparation
- Step 6: Deck Stain Application Between Boards, Ensuring Even Coverage
- Common Mistakes to Avoid During Preparation
- Frequently Asked Questions
Last Updated: October 12, 2026
Why Proper Deck Preparation Matters Before Staining
Preparing your deck for staining is the difference between a finish that lasts five years and one that fails in six months.
The timber won't accept stain evenly if the surface isn't clean and dry. Old coatings block new ones.
When you prepare a deck correctly, the stain adheres properly, colour looks uniform, and the protective finish actually protects.
This guide covers inspection, cleaning, drying, sanding, repairs, and application. Follow this process and your deck will look better and last longer.
Step 1: Inspect Your Deck and Assess Timber Condition
Examine the entire deck surface for damage, rot, and existing coatings. This inspection determines what repairs you'll need before you can stain.
Press a screwdriver into the wood in several spots. If it sinks easily, the timber has rot and soft, crumbly wood needs replacing before you stain.
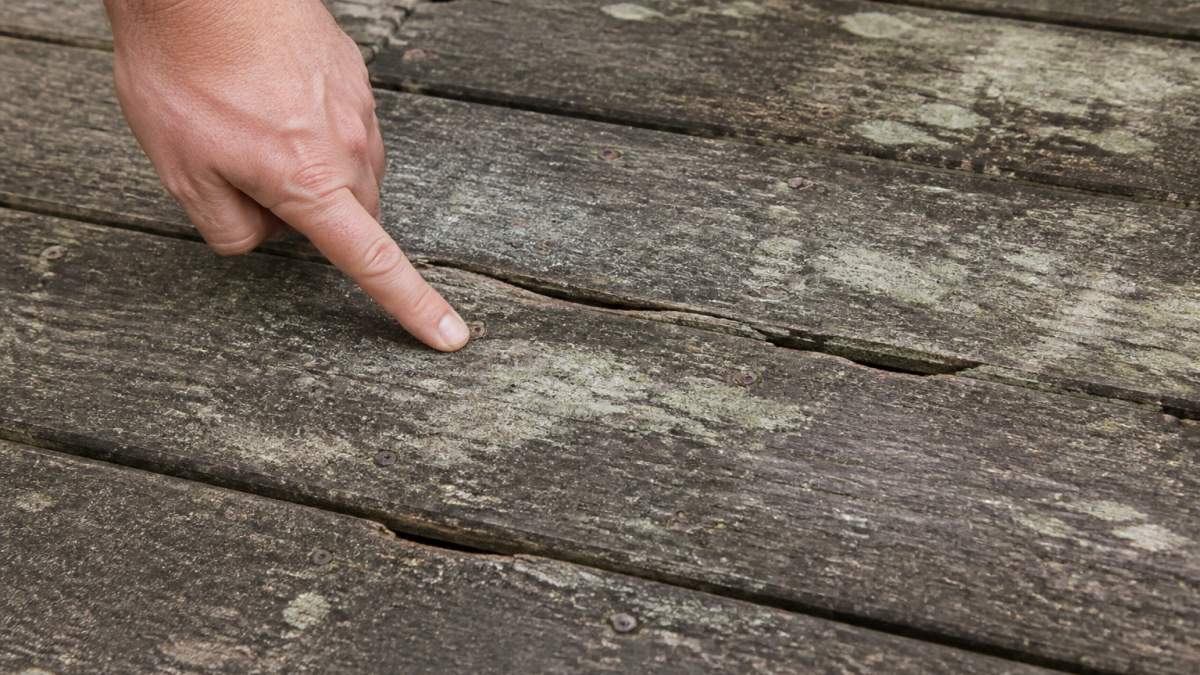
Check for structural damage
Look for these warning signs:
- Boards that move or flex when you walk on them
- Nails or screws that have lifted above the surface
- Visible cracks running along the grain
- Gaps widening between boards
- Soft spots that feel spongy underfoot
Replace any boards that are severely damaged. Loose fasteners should be tightened or replaced. Small cracks in solid timber are normal and don't require replacement, stain will seal them.
Look for mould, mildew, and weathered timber
Mould and mildew appear as dark spots or streaks, common in shaded areas and on decks that don't dry quickly. Weathered timber looks grey and dull from UV exposure and moisture. Both need to be removed before staining: mould and mildew prevent stain adhesion, and weathered timber has a damaged surface layer that won't accept colour evenly.
Step 2: Deck Cleaning Before Staining, Removing Surface Contaminants
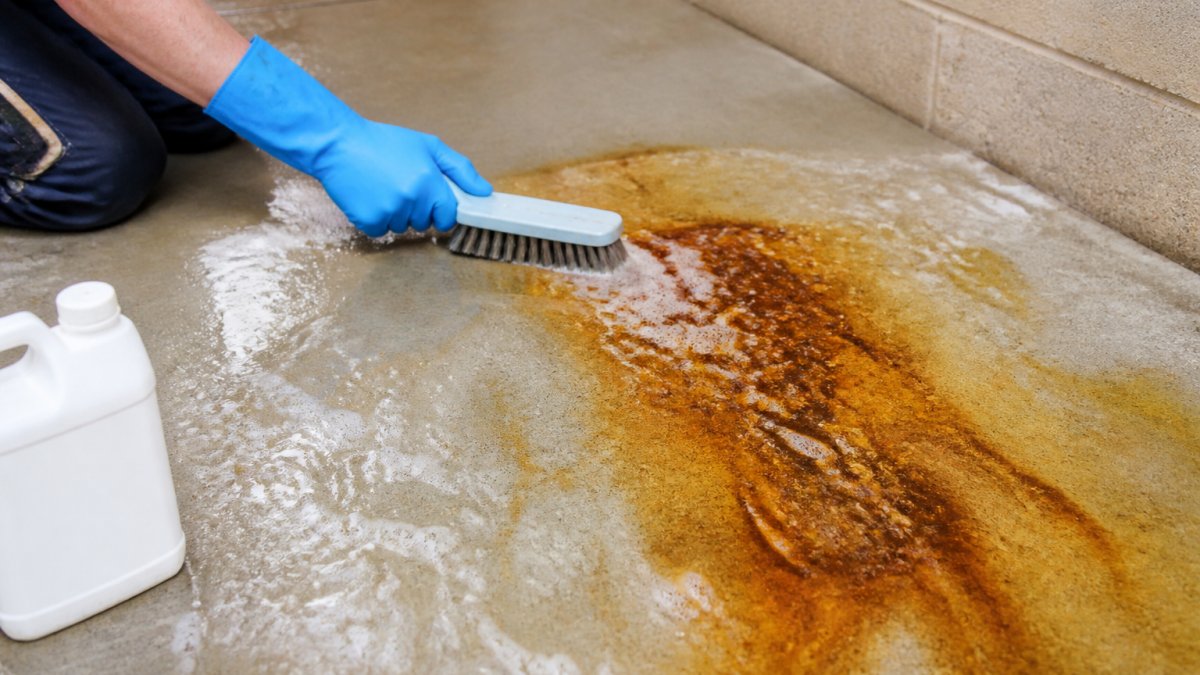
A clean surface is essential. Dirt, debris, organic growth, and old stain residue must go, because stain cannot bond to a dirty surface. Start with a basic sweep, then move to deeper cleaning, the method depends on how dirty the deck is and what type of timber you have.
Remove dirt, debris, and organic growth
Leaves, pollen, and dust trap moisture, while algae and moss grow in damp, shaded spots. All of these prevent stain from adhering properly.
Use a stiff-bristled brush to scrub the timber. Work in the direction of the grain. Pay special attention to areas between boards where debris collects.
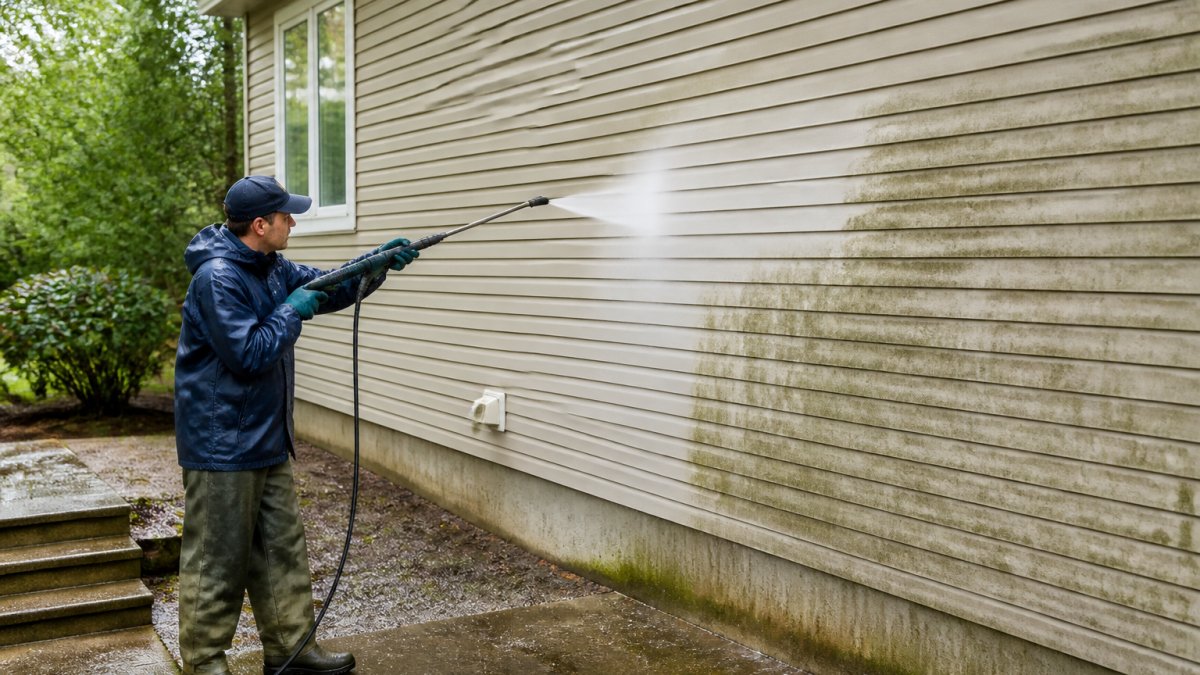
For between-board cleaning, a pressure washer on low setting can work, but only if you're careful. High pressure damages timber. Use a wide nozzle and keep the spray moving. Never hold the jet in one spot.
Pressure washing safely without damaging timber
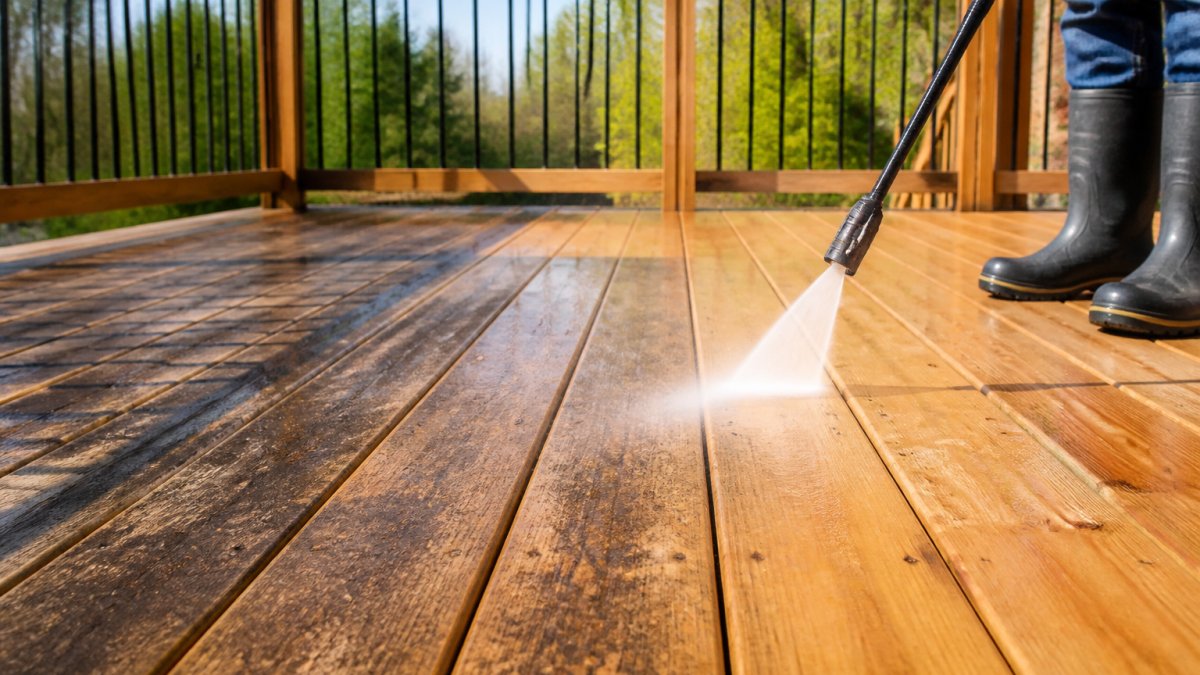
Pressure washing removes embedded dirt quickly. It's effective but risky if done wrong. Timber is softer than concrete. Too much pressure gouges the surface and opens grain.
Use a pressure washer set to no more than 1500 PSI for deck timber. Keep the nozzle at least 30 centimetres away from the surface. Use a 40-degree wide-fan nozzle, never a 0-degree jet. Work in the direction of the grain.
Let the deck dry completely after pressure washing. Moisture must evaporate fully or staining will fail.
Step 3: How Long to Let a Deck Dry Before Staining
Stain and sealer will not adhere to wet timber. Apply a finish to a damp surface and it will peel, blister, or flake within months, often within a single season.
After cleaning, drying time depends on weather, timber type, board thickness, shade, airflow, and how wet the surface became during washing. Don't guess on this step.
Why local conditions change everything
Coastal and harbourside suburbs run humid, especially in the morning, while inland suburbs swing between hot, dry afternoons and cool, damp nights.
A common pattern is that a deck washed on a mild, overcast morning in a humid month can still read too wet 72 hours later, while the same deck washed on a hot, dry, breezy afternoon can be ready in under 48 hours.
Moisture testing and realistic drying timeframes
Most decking timbers need roughly 48 to 72 hours to dry after washing, assuming dry weather and good airflow.
A moisture meter is the most reliable way to know, and these are widely available and inexpensive. Timber should read between 12 and 16 percent moisture content before staining or sealing.
If you don't have a meter, use the water test. Sprinkle a few drops of water on the timber in a few different spots.
Seasonal timing and the forecast
Drying time varies by season: warm, dry, breezy days dry fastest, while cool, humid, still days are slowest. Rain resets the clock, after rain, wait another 48 to 72 hours once the surface has dried again.
Before you commit to a staining day, check the forecast for the next 48 hours, not just the day itself. You want a window with no rain, moderate temperatures, and reasonable humidity. Most finish manufacturers specify a minimum and maximum application temperature on the label, follow those numbers rather than guessing.
Step 4: Sanding a Deck Before Staining, Surface Preparation
When you prepare deck staining through sanding, it smooths the timber, improves stain adhesion, and removes weathered surface layers and old stain residue. Light sanding is usually all you need, don't over-sand. You're not removing the top layer of timber, just roughening the surface enough for stain to grip. Heavy sanding takes hours and damages the timber.
Removing existing coatings and old stain layers
If the deck has been stained before, old stain or sealer may still be present. New stain won't adhere properly over old coatings. You need to remove or break through them.
A sander with 80-grit to 120-grit sandpaper works well. Start with 80-grit if there's heavy old stain. Use 120-grit for lighter preparation. Sand in the direction of the grain, not across it.
For large decks, a drum sander or orbital sander saves time. For small areas, a handheld sander or sanding block is fine.
Light sanding for adhesion and smoothness
After the old coating is removed or broken up, light sanding with 120-grit to 150-grit paper smooths the surface, taking 30 minutes to a few hours depending on deck size. Sand lightly, you're creating a slightly rough surface for stain to grip, not removing timber.
Vacuum or sweep away all dust after sanding. Dust prevents stain from bonding. Wipe the surface with a damp cloth and let it dry completely.
Step 5: Repairs and Final Preparation
Before staining, fix any remaining damage. Cracked boards, loose fasteners, and splinters need attention. Stain won't hide these problems, it will highlight them.
Fixing cracked boards, loose boards, and splinters
Small cracks along the grain are normal and don't need repair.
Loose boards need to be re-fastened. Use stainless steel or galvanised screws instead of nails. Screws hold better and won't pop up over time.
Splinters are sharp and will catch stain unevenly. Sand them smooth or plane them down.
Fill gaps between boards if they're wider than half a centimetre. Use a flexible timber filler or backer rod.
After repairs, sand the repaired areas to blend them with the rest of the deck. Wipe away all dust.
Step 6: Deck Stain Application Between Boards, Ensuring Even Coverage
Even coverage separates a professional-looking finish from a patchy one. Stain pools between boards if you're not careful, and uneven application shows up as blotchy colour and premature wear.
Choosing the right finish and checking compatibility
Before you open a tin, confirm what you're applying and what's already on the deck. The three main options behave differently:
- Stains penetrate the timber and add colour plus some UV protection. They tend to wear gradually and are easier to recoat.
- Oils penetrate deeply, enhance the natural grain, and often need more frequent top-ups.
- Sealers form more of a surface film and provide strong water resistance, but they can peel if moisture gets underneath.
Compatibility matters. A water-based product over an oil-based coating, or a film-forming sealer over a penetrating oil, can fail quickly. If you're unsure what's on the deck, test a small inconspicuous area first and check the manufacturer's guidance on recoating over existing finishes.
Technique for even coverage
Apply stain with a brush, roller, or applicator pad. Work in small sections, roughly one or two boards at a time, and keep a wet edge so overlap marks don't show.
Pay attention to between-board gaps. Stain settles there and can look darker than the surrounding surface. Use a thin brush to apply just enough product, not so much that it pools.
Most decks need two coats for even colour and better protection.
Common Mistakes to Avoid During Preparation
Knowing what not to do saves time and money.
Skipping the inspection. Damage hidden under new stain gets worse.
Cleaning with too much pressure. High-pressure washing damages timber grain.
Staining wet timber. Moisture under a fresh finish causes peeling.
Not removing old coatings. New stain won't adhere over old finishes.
Over-sanding. Aggressive sanding damages timber. Light sanding is all you need for adhesion.
Ignoring between-board gaps. Stain pools there and looks darker.
Rushing drying time. Impatience causes finish failure.
Preparing your deck properly takes time, but it's worth the effort.
Frequently Asked Questions
How long should a deck dry after cleaning before staining?
Most timber decks need 48-72 hours to dry completely after cleaning, depending on weather. Use a moisture metre to verify the timber moisture content is between 12 and 16 percent before applying stain. In humid conditions or after heavy rain, allow up to a week. Applying stain to damp timber leads to poor adhesion and uneven colour.
Do you need to sand a deck before staining?
Yes. Sanding removes old stain layers, opens the timber grain for better stain penetration, and creates a smooth surface for even application. Light sanding (80-120 grit) is usually sufficient for decks with existing finishes. New timber may need minimal sanding unless splinters are present. Proper sanding improves adhesion and colour uniformity.
How do you stain in between deck boards?
Use a thin brush, angled applicator, or deck stain applicator designed for gaps. Work the stain into spaces between boards before applying to the main surface. Wipe excess stain from edges immediately to prevent drips. Some stains are formulated to self-level; check the product instructions. Proper application between boards prevents water pooling and extends the protective finish.
What's the best way to remove old stain before resealing?
Inspect the existing coating first. If it's peeling or flaking, sand it off or use a deck stripper. Pressure wash at low pressure (below 1500 psi) to remove loose material without damaging timber. Allow the deck to dry completely, then lightly sand to smooth the surface and improve adhesion for the new sealer. Test in an inconspicuous area first.