 how-to
How to Remove Graffiti from Brick: A Step-by-Step Guide
Table of Contents
- Why Graffiti Removal from Brick Requires Care
- What You'll Need: Tools and Safety Gear
- Testing on an Inconspicuous Area First
- Best Graffiti Remover for Masonry Surfaces
- Step-by-Step Removal Process
- DIY Graffiti Removal Safety Tips
- When to Call Professional Graffiti Removal Services
- Preventing Future Graffiti with Protective Coatings
- Frequently Asked Questions
Last Updated: September 21, 2026
Why Graffiti Removal from Brick Requires Care
Graffiti on brick surfaces demands a thoughtful approach. Brick is porous and absorbs materials deeply, making removal complex and risky if done incorrectly.
Brick can spall, crack, or lose its protective efflorescence layer if you apply the wrong technique or chemical, leading to water penetration and structural damage. Understanding your brick type before you start is non-negotiable.
Most DIY attempts fail because they skip assessment. People grab a pressure washer or solvent and start blasting, leaving staining, etched mortar, or surface damage harder to fix than the original graffiti.
You can remove graffiti from brick safely by following a structured process that preserves your masonry's integrity.
What You'll Need: Tools and Safety Gear
Using the wrong tools will either fail to remove paint or damage the substrate permanently.
Essential Safety Equipment
Personal protective equipment is essential. Chemical solvents, pressure washers, and abrasive methods all pose real risks.
You need:
- Safety goggles that seal around your eyes (not just regular glasses)
- Nitrile gloves, preferably heavy-duty or double-layered
- A respirator mask rated for organic vapours if using chemical solvents
- Long sleeves and long trousers to protect skin
- Closed-toe shoes with good grip (wet surfaces are slippery)
- Ear protection if using high-pressure equipment
A respirator is critical, many chemical removers release fumes that irritate lungs and airways. Position yourself upwind of the treated area.
Removal Tools and Materials
Your toolkit depends on your chosen method. Most effective approaches combine mechanical and chemical methods.
Essential tools include:
- Wire brush or bronze wool for light agitation
- Stiff-bristled brush for applying removers
- Pressure washer (1,500-2,500 PSI for brick, not higher)
- Bucket for mixing or diluting removers
- Spray bottle for applying solutions
- Sponges or rags for rinsing and cleanup
- Drop cloth or plastic sheeting to protect surrounding areas
For chemical removal, use a solvent or graffiti remover product. For mechanical removal, use steel wool, bronze wool, or a wire brush. Some jobs benefit from both approaches sequentially.
Testing on an Inconspicuous Area First
Always test your chosen method on a small, hidden area before treating the graffiti itself.
Pick a hidden spot on the same brick. Apply your chosen remover using the same pressure, dwell time, and agitation you plan to use on the actual graffiti. Wait 24 hours and observe the results.
Look for:
- Colour changes or bleaching of the brick
- Surface etching or texture damage
- Staining or discolouration around the test area
- Mortar degradation between bricks
If the test area shows any of these signs, your method is too aggressive. Adjust your approach, lower the pressure, reduce dwell time, or switch to a gentler solvent.
Best Graffiti Remover for Masonry Surfaces
The right product depends on paint type, brick condition, and your comfort level with chemicals.
Chemical and Natural Solvent Options
Chemical removers break down the paint's binder, allowing it to be wiped or rinsed away. They penetrate porous surfaces effectively but require careful handling.
Common options include:
Citrus-based cleaners dissolve paint through natural oils and are less toxic than industrial solvents. They work best on fresh spray paint and markers, with dwell time of 15-30 minutes.
Paint thinners and mineral spirits work on most paint types but produce stronger fumes, with dwell time of 10-20 minutes depending on paint thickness.
Degreaser products cut through oil-based paints effectively and work on weathered graffiti, with dwell time of 20-40 minutes.
Specialized graffiti removers formulated for masonry penetrate brick without damaging the substrate, though they cost more.
Always check that your chosen product is suitable for brick. Some removers damage mortar or cause efflorescence (white salt deposits) on the brick surface.
Mechanical Removal Methods
Mechanical removal uses abrasion to wear away paint. It works well for light graffiti but can damage brick if applied too aggressively.
Wire brush or steel wool removes paint through manual scrubbing on small tags or light spray paint. Bronze wool is gentler on brick than steel wool.
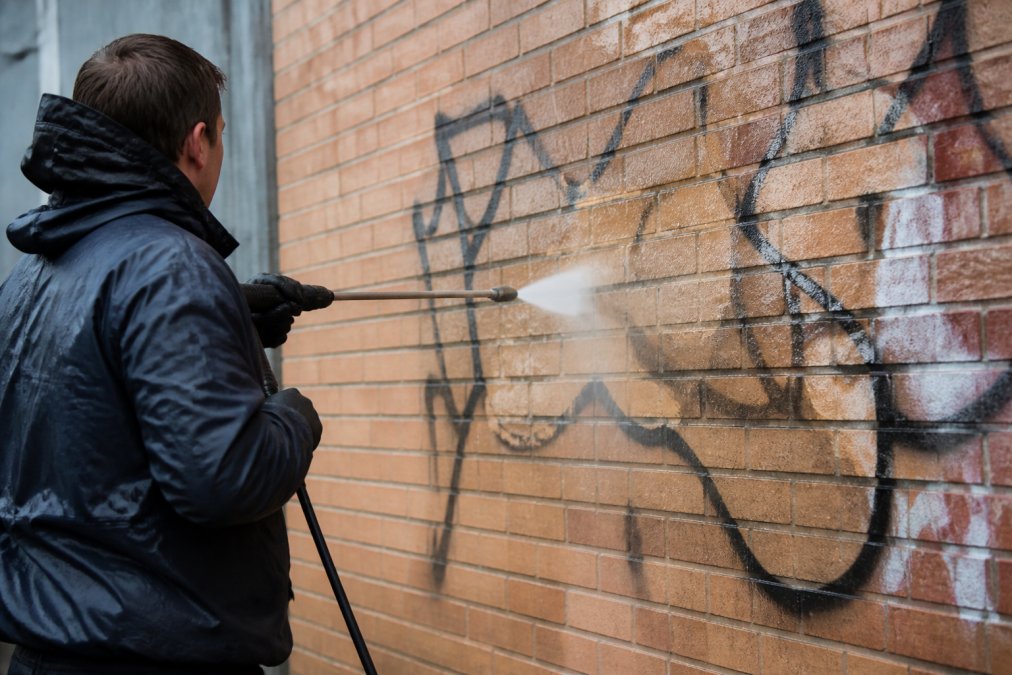
Pressure washing uses high-pressure water to blast away paint. Start at 1,500 PSI and never exceed 2,500 PSI on brick. Hold the nozzle at least 30 centimetres away and use a wide spray pattern.
Sanding or grinding removes paint by abrading the surface layer. This is aggressive and should only be used on hard brick in good condition.
Most effective results combine methods: apply a chemical remover first, let it dwell, then use light mechanical agitation with a brush or low-pressure water rinse.
Step-by-Step Removal Process
Follow this sequence to remove graffiti from brick safely and effectively.
Step 1: Assess the Brick and Paint Type
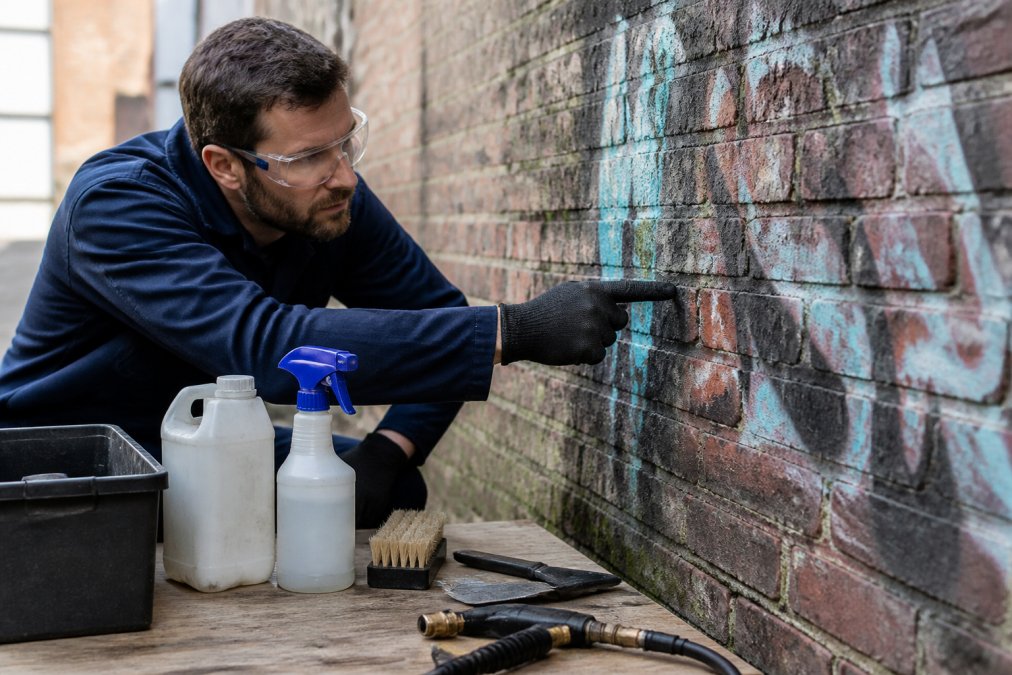
Brick types vary in hardness and porosity. Press your fingernail against the brick, if it scratches easily, the brick is soft and requires gentler treatment.
Check the paint type: spray paint sits on the surface, markers soak into brick, oil-based paints require solvents, and water-based paints respond to pressure washing.
Examine the surrounding mortar. If cracked or deteriorated, use only gentle chemical removers and light brushing.
Step 2: Apply Your Chosen Remover
Apply your selected chemical remover or prepare your mechanical method, following product instructions for dilution and application.
Spray or brush the remover onto the graffiti, ensuring full coverage. Work in small sections to allow time for penetration and paint breakdown.
Apply a generous coat for spray paint and heavier application for markers or oil-based paint. Avoid oversaturating, which wastes product and creates staining runoff.
Let the remover sit for the recommended dwell time (typically 10-40 minutes). Removing too early means incomplete paint breakdown and wasted effort.
Step 3: Agitate and Dwell
Agitation helps the remover penetrate and break down paint bonds. Use a stiff-bristled brush or bronze wool to gently scrub.
Apply light to moderate pressure using circular motions to help the chemical remover work.
Agitate for 2-3 minutes on light graffiti, 5-10 minutes on heavy or weathered paint, until paint separates from the brick.
If using a pressure washer, start at the lowest effective PSI and increase gradually, keeping the nozzle moving.
Step 4: Rinse Thoroughly
Rinse away loosened paint and remover residue using clean water and a brush or sponge.
If pressure washing, use a wide spray pattern at moderate pressure, starting from the top and working downward. Make multiple passes to ensure complete removal.
Pay special attention to mortar joints where residue can accumulate and cause staining or damage.
Keep rinsing until the water runs clear and the brick surface feels clean.
Step 5: Neutralize and Final Rinse
Some chemical removers leave residue that can cause staining or damage if not neutralized.
Apply a neutralizing solution if your remover requires it. Check the product label.
Use a weak acid solution (white vinegar diluted 1:1 with water) or commercial neutralizer. Apply, let sit 5-10 minutes, then rinse thoroughly.
Do a final inspection.
DIY Graffiti Removal Safety Tips
Safety isn't negotiable when working with chemicals, pressure equipment, or at height.
When to Call Professional Graffiti Removal Services
Some jobs are beyond safe DIY scope. Knowing when to call professionals saves money and prevents damage.
Call a professional if:
- The graffiti covers a large area (more than 1 square metre)
- It's on a heritage or historically significant building where damage is unacceptable
- The brick is soft, weathered, or visibly damaged already
- The graffiti is on a high surface requiring scaffolding or cherry picker access
- You've tried removal and caused staining or surface damage
- The property has recurring graffiti and you need a long-term solution
- You're uncertain about the brick type or paint composition
Preventing Future Graffiti with Protective Coatings
The best graffiti removal is prevention. Protective coatings make future tags easier to remove and discourage vandals.
Frequently Asked Questions
What is the best graffiti remover for brick?
The best graffiti remover depends on the paint type and brick condition. Citrus-based cleaners work well for fresh spray paint and are less harsh on masonry. For older or stubborn marks, penetrating oils or dedicated graffiti solvents may be more effective. Always test on a small, inconspicuous area first to ensure the remover won't damage or stain the brick substrate. Professional-grade removers typically offer faster results than household options, though they require careful handling and proper safety precautions.
Is pressure washing safe for removing graffiti from old brick?
High-pressure water can damage old or deteriorating brick by causing spalling, surface erosion, or driving water into porous masonry. For older brick, lower pressure settings (below 1500 PSI) combined with a chemical pre-treatment is safer than aggressive pressure washing alone. Always test on a small area first. If the brick shows signs of damage or the mortar is weak, mechanical methods or professional graffiti removal services are preferable. Professional teams know how to assess brick condition and adjust techniques accordingly.
What safety precautions should I take when removing graffiti myself?
Wear safety goggles to protect your eyes from splashes and debris, chemical-resistant gloves, and a respirator if using solvent-based removers in enclosed spaces. Ensure good ventilation and avoid breathing fumes. Never mix chemical removers, as this can create toxic reactions. Work during daylight and avoid pressure washing at heights without proper fall protection. Keep children and pets away from the work area. Rinse thoroughly after application to remove all residue and neutralise any chemical residue on the brick surface.
When should I hire a professional graffiti removal service instead of DIY?
Hire professionals if the graffiti covers a large area, is on historic or delicate brick, or involves multiple layers of paint. Professional services have industrial-grade equipment and expertise to remove graffiti without damaging the substrate. They can also assess brick condition, identify spalling or damage, and recommend preventative coatings. If graffiti returns frequently on a commercial property, professionals can establish a maintenance plan. For high-rise surfaces or locations requiring fall protection, professional removal is essential for safety and liability reasons.