 how-to
Protect Exterior Paint During Cleaning: A Step-by-Step Guide
Last Updated: October 23, 2026
Quick Summary
Protect exterior paint cleaning requires using mild cleaners at proper dilution, keeping pressure washer settings between 1,200-1,500 PSI, maintaining 60 centimetres distance from surfaces, and allowing adequate dwell time before rinsing thoroughly from top to bottom.
- Test your cleaner and method on a hidden area 24 hours before cleaning your entire house.
- Use a soft-bristle brush, never wire, and work from top to bottom to prevent water seeping behind paint.
- Set pressure washers to 1,200-1,500 PSI with a 25-40 degree nozzle for painted surfaces.
- Protect trim, windows, landscaping, and gaps with masking tape and plastic sheeting before cleaning.
- Allow 10-20 minutes dwell time for cleaner to work before rinsing, depending on dirt and product instructions.
Table of Contents
- Why Protecting Exterior Paint During Cleaning Matters
- What You'll Need Before You Start
- Choosing the Best Cleaner for Exterior Painted Surfaces
- Pressure Washing Painted Walls Safely: Settings and Technique
- How to Remove Mould from Exterior Walls Without Damaging Paint
- How Often to Clean Exterior House Walls
- Step-by-Step Cleaning Process
- Common Mistakes to Avoid
- Frequently Asked Questions
Why Protecting Exterior Paint During Cleaning Matters
Exterior paint faces constant assault from salt spray, UV rays, dirt, and mould.
The difference between a successful clean and a costly mistake comes down to how much force, which chemicals, and what technique your painted surfaces can handle.
Protecting exterior paint during cleaning isn't complicated, it requires planning, the right tools, and a methodical process, whether you DIY or hire a professional.
What You'll Need Before You Start
Essential Tools and Equipment
Cleaning and preparation tools:
- Soft-bristle brush (not wire, wire scratches paint)
- Nylon scrub pad for stubborn stains
- Broom for sweeping loose debris
Safety and protection:
- Gloves to protect your hands
- Eye protection (safety glasses)
- Dust mask if using powdered cleaners
Optional but useful:
- Extension pole for reaching high areas safely
- Masking tape for protecting trim and fixtures
- Plastic sheeting for shielding landscaping
Cheap brushes shed bristles into your paint and low-quality nozzles spray unevenly. Invest in decent equipment.
Safety Considerations and Protective Gear
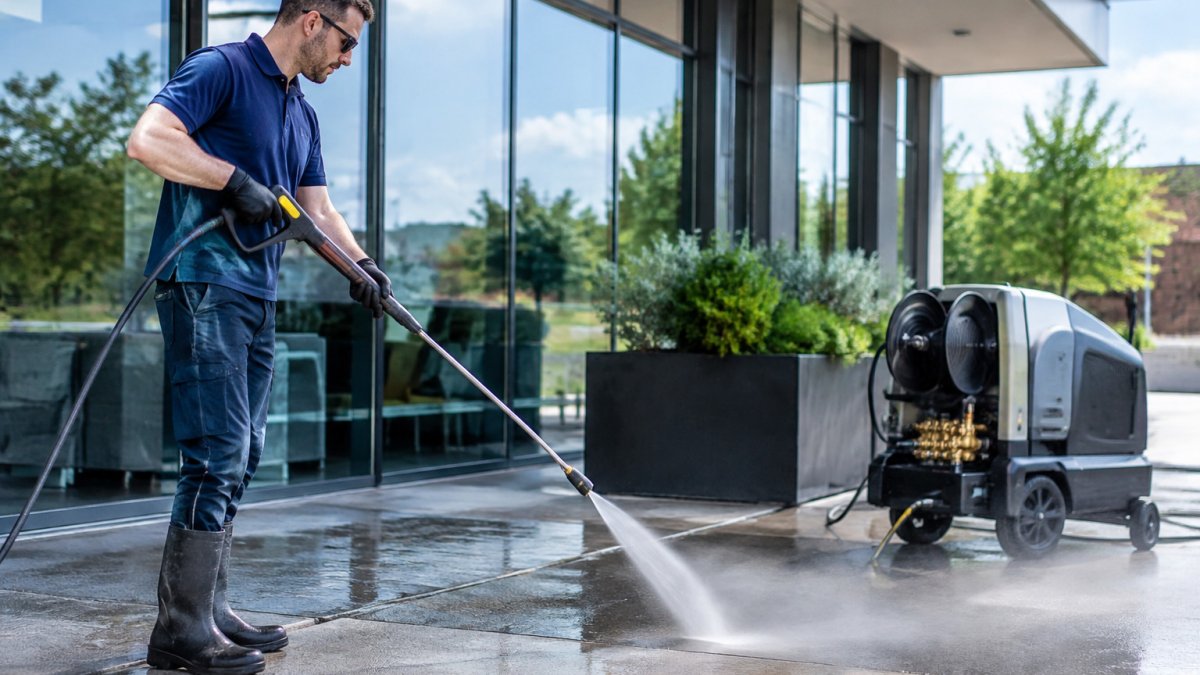
Wear gloves to protect your skin from cleaners and dirt, and eye protection, splashing dirty water into your eyes is painful and dangerous.
Wear closed-toe shoes with good grip, wet surfaces are slippery, and falls from ladders or slopes are serious. Pressure Washing Safety Tips for Homeowners covers comprehensive safety guidance before you start any cleaning project.
When using a pressure washer, wear long sleeves and trousers, high-pressure water can cause injury. Never point the nozzle at yourself or another person.
On a ladder, keep three points of contact (two hands and one foot, or two feet and one hand). Never lean too far to the side, move the ladder instead.
Pressure Washing Safety Tips for Homeowners covers comprehensive safety guidance before you start any cleaning project.
Choosing the Best Cleaner for Exterior Painted Surfaces
Not all cleaners are safe for painted surfaces.
General-purpose cleaners work for light dirt and dust.
Mould and mildew cleaners kill spores but can be harsh if left too long on paint.
Degreaser-based cleaners tackle oily stains from roads or cooking equipment; they're stronger and need careful dilution.
Start with the mildest option and move to something stronger only if it doesn't work.
Dilution Ratios and Dwell Time
Dilution matters: too strong damages paint, too weak won't clean.
Most general-purpose cleaners recommend 1 part cleaner to 3-5 parts water, but read the label, products vary.
Dwell time is how long the cleaner sits before you rinse, this is where cleaning actually happens.
For light dirt, 5-10 minutes is enough; for mould or stubborn stains, 15-20 minutes. Don't let it dry completely or you risk streaking and residue buildup.
Check the product instructions. Some cleaners shouldn't sit longer than 30 minutes or they can damage the paint underneath.
Testing on an Inconspicuous Area First
Before cleaning your entire house, test your chosen cleaner and method on a small, hidden area. This is non-negotiable.
Pick a spot on the back of your house or under an eave.
Wait 24 hours and check for discolouration, streaking, or paint damage.
This step takes 10 minutes and saves thousands in potential damage. Always do it.
Pressure Washing Painted Walls Safely: Settings and Technique
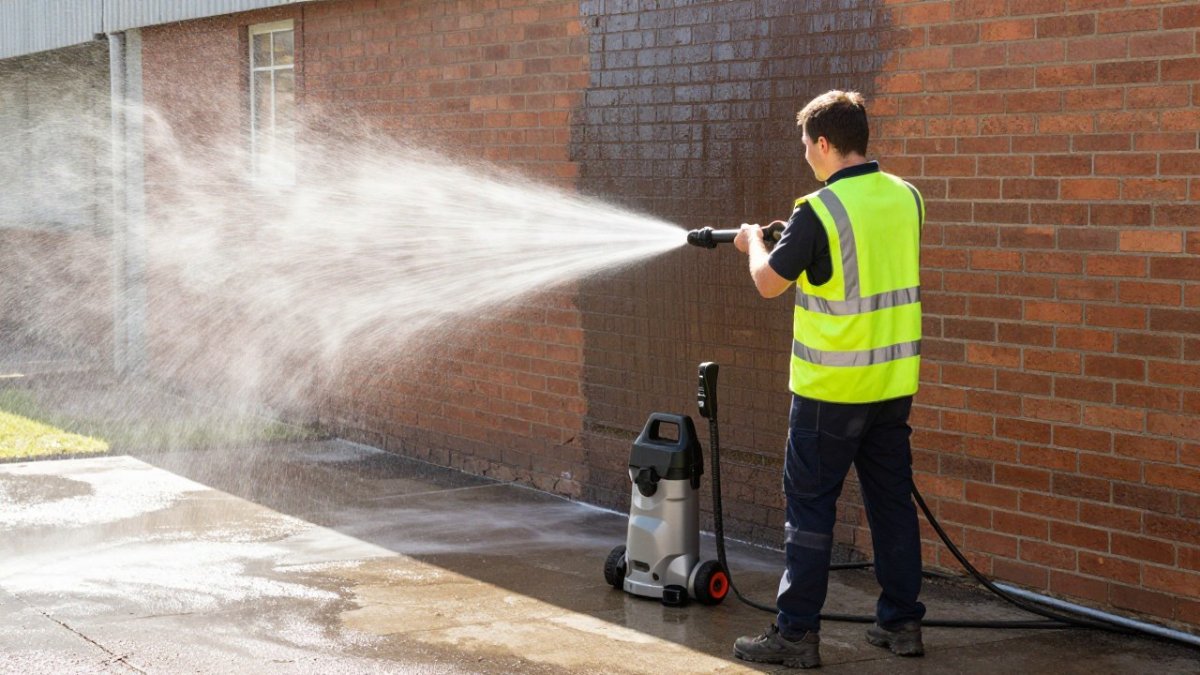
Pressure washers clean fast or destroy paint in seconds.
Most residential pressure washers range from 1,500 to 3,000 PSI.
Set your pressure washer to 1,200-1,500 PSI for painted wood, or 1,500-2,000 PSI for painted concrete or masonry.
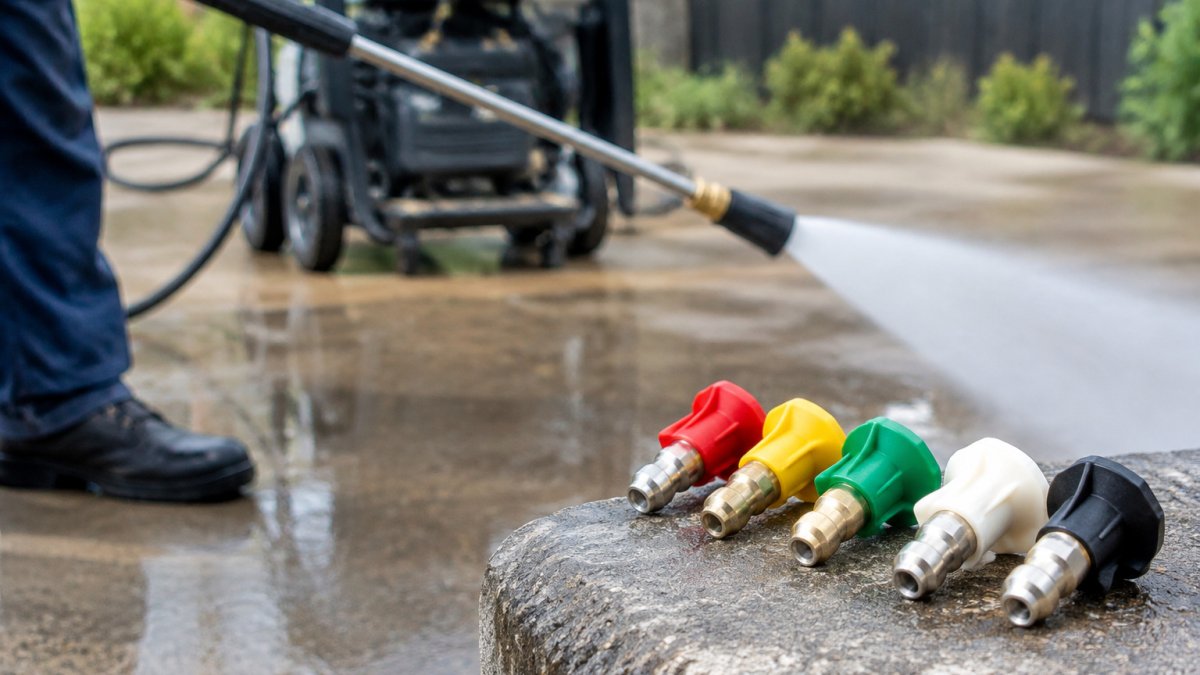
Use a 25-40 degree nozzle, not a 0-15 degree one.
Keep the nozzle moving with long, even strokes parallel to the surface to prevent striping and uneven cleaning.
When Not to Use a Pressure Washer
Pressure washing isn't always the right choice. Know when to stop.
Don't use a pressure washer on:
- Timber that's already soft, rotting, or splintering
- Paint that's already peeling or flaking badly
- Delicate finishes like low-sheen or matte paint
For these situations, stick with a soft-bristle brush, mild cleaner, and hand rinsing. It takes longer but prevents damage.
If you're unsure whether your surface can handle pressure washing, err on the side of caution. Hand cleaning is always safer.
Is Pressure Cleaning Safe for Painted Surfaces? provides detailed guidance on when pressure washing is appropriate and when gentler methods are better.
Distance and Angle Guidelines
Distance is everything. Too close and you damage paint. Too far and you don't clean effectively.
Start at 60 centimetres away. Test the spray on a practice area or test spot.
Angle the nozzle at 45 degrees to the surface, not perpendicular.
Never aim upward at siding or trim. Water can seep behind the paint and cause rot.
How to Remove Mould from Exterior Walls Without Damaging Paint
Mould and mildew are common on exterior walls, especially in shaded areas or climates with high humidity. Removing them safely requires understanding what you're dealing with and using the right technique.
Identifying Mould vs. Dirt and Discolouration
Not all dark spots are mould. Dirt, mineral deposits, and paint discolouration can look similar.
Mould usually appears as black or dark green spots, often in clusters.
Dirt and dust are tan or grey and distributed more evenly across the surface.
The distinction matters because each requires a different approach. Mould needs a biocide or mould-specific cleaner.
Safe Removal Process
To remove mould safely without damaging paint, follow this process:
Step 1: Choose a mould-specific cleaner. Use a product designed for exterior mould removal. Mix it at the recommended dilution, usually stronger than general-purpose cleaner, but still diluted.
Step 2: Apply and dwell. Brush the cleaner onto affected areas.
Step 3: Gently scrub. Use a soft-bristle brush, not a wire brush. Work gently.
Step 4: Rinse thoroughly. Use low-pressure water (garden hose, not pressure washer). Rinse from top to bottom.
Step 5: Allow to dry completely. Don't apply more cleaner or paint until the surface is fully dry. Preventing Mold Regrowth on Exterior Walls explains how to prevent mould from coming back after cleaning.
Preventing Mold Regrowth on Exterior Walls explains how to prevent mould from coming back after cleaning.
How Often to Clean Exterior House Walls
How often you clean depends on your climate, location, and how dirty your house gets.
In dry climates with minimal shade, annual cleaning is usually enough.
If your house is surrounded by trees or in a shaded area, expect more mould and dirt.
If your house is near the ocean, salt spray accelerates dirt buildup and paint degradation.
Watch your house. If you notice visible dirt, mould, or discolouration, it's time to clean.
Cleaning frequency depends on your climate and location.
| Climate or Location | Recommended Frequency | Reason |
|---|---|---|
| Dry climate, minimal shade | Annual | Low dirt and mould buildup |
| Humid climate | Twice yearly | Spring and autumn cleaning |
| Shaded or tree-surrounded | Every 6-9 months | More mould and dirt |
| Near ocean | Twice yearly | Salt spray accelerates degradation |
Step-by-Step Cleaning Process
Follow this process to protect your exterior paint while achieving professional-quality results.
Step 1: Inspect and Prepare Surfaces
Before you touch a brush or turn on water, inspect your painted surfaces carefully. How to Prepare Your House for Pressure Washing provides a detailed preparation checklist to ready your house before cleaning begins.
Look for peeling paint, cracks, gaps, or areas where water could seep behind the paint.
How to Prepare Your House for Pressure Washing provides a detailed preparation checklist to ready your house before cleaning begins.
Check the weather. Don't clean if rain is forecast within 24 hours, you need time for surfaces to dry.
Clear the area. Move outdoor furniture, potted plants, and anything else that could get wet.
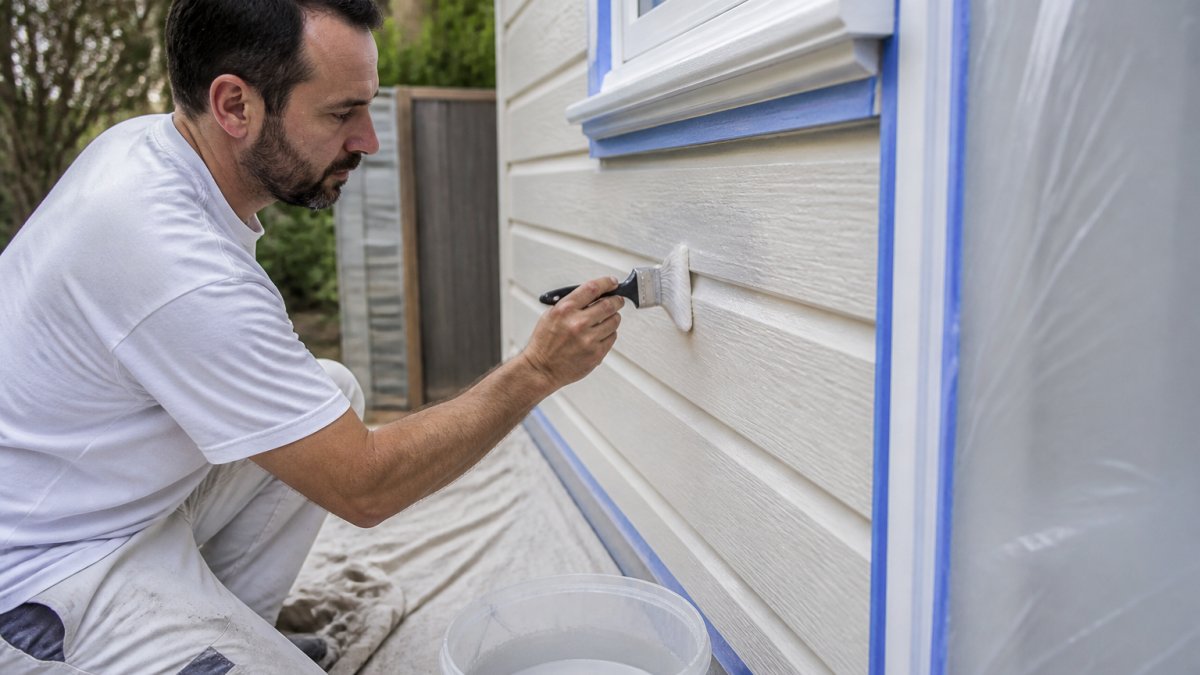
Step 2: Protect Vulnerable Areas
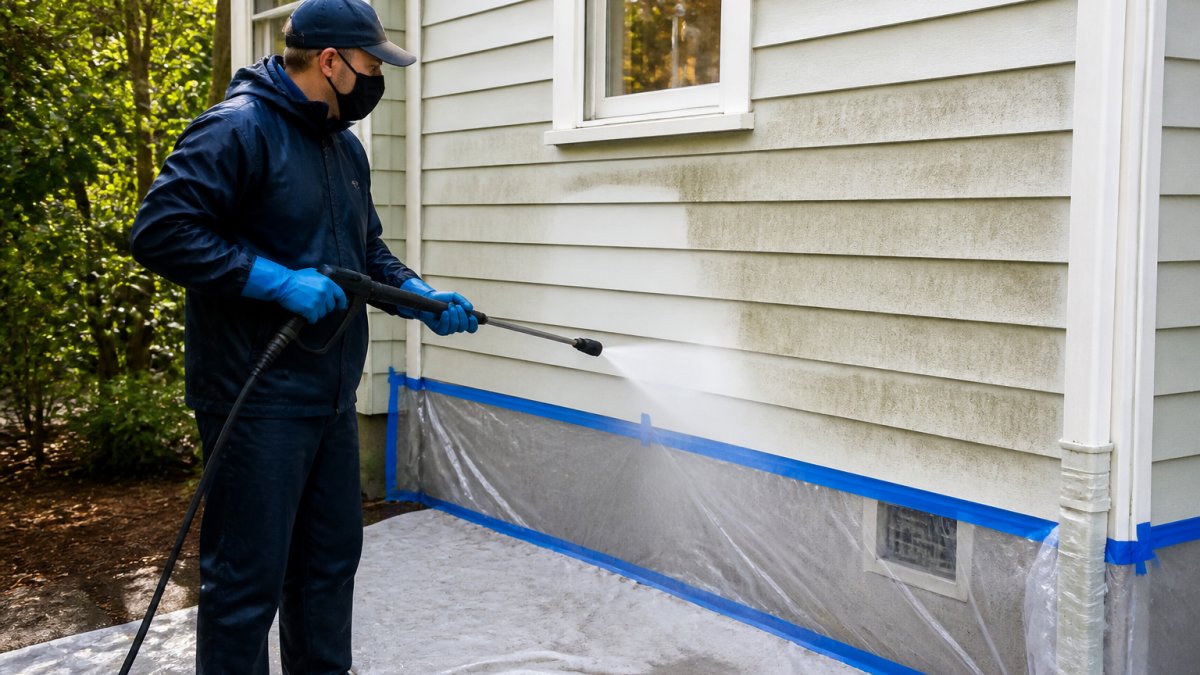
Before you apply any cleaner or water, protect areas that shouldn't get wet or could be damaged.
Mask trim and fixtures:
- Use masking tape around window frames, door frames, and gutters
- Tape around outdoor lights, vents, and any electrical outlets
- Cover air conditioning units and heat pumps with plastic sheeting
Protect landscaping:
- Drape plastic sheeting over garden beds and shrubs
- Move potted plants away from the cleaning area
- If you're using a strong cleaner, water your garden first, this dilutes any runoff
Cover gaps:
- Tape over gaps between siding and trim where water could seep behind the paint
- Cover any cracks in the paint with masking tape
This step feels tedious but prevents damage that's expensive to fix. Spend 20 minutes protecting. Save thousands in repairs.
Step 3: Apply Cleaner and Allow Dwell Time
Mix your chosen cleaner at the recommended dilution in a bucket.
Work from top to bottom. Start at the highest point and work downward.
Apply the cleaner generously but not so much that it runs off immediately.
Let it sit for the recommended dwell time, typically 10-20 minutes depending on the cleaner and how dirty the surface is.
While you wait, don't leave the area unattended. Watch for any signs of damage or discolouration.
Step 4: Rinse Thoroughly and Inspect
Rinse the cleaner off completely. Use a garden hose with an adjustable nozzle, not a pressure washer at this stage.
Start at the top and work downward. Use even, overlapping strokes.
After rinsing, inspect the surface carefully. Check for:
- Streaking or uneven colour
- Damage to the paint
- Residue buildup
If you see residue, rinse again. If cleaning is uneven, you may need a second application of cleaner on those spots.
Allow the surface to dry completely before evaluating the final result. Wet paint looks different from dry paint.
Common Mistakes to Avoid
Learning from others' mistakes saves you time, money, and frustration.
Mistake 2: Holding the nozzle too close. Distance matters more than pressure.
Mistake 3: Skipping the test spot. Testing takes 10 minutes. Repainting takes weeks and costs thousands. Always test first.
Mistake 5: Not protecting adjacent areas. Water and cleaner splash.
Mistake 6: Cleaning in the wrong direction. Always work top to bottom.
Mistake 7: Rushing the dwell time. Cleaner needs time to work.
Mistake 8: Ignoring weather. Rain within 24 hours ruins results.
Frequently Asked Questions
What is the best thing to clean exterior paint with?
Mild, pH-neutral cleaners specifically formulated for painted surfaces are safest. Mix according to manufacturer instructions, typically 1 part cleaner to 3-5 parts water. Avoid acidic or alkaline solutions that can strip paint or cause fading. Always test the diluted cleaner on a small, hidden area before applying to visible surfaces. For mould or mildew, use a cleaner designed for biological growth without bleach, which can damage paint.
How often should you clean exterior paintwork?
Most exterior walls benefit from annual washing to remove dust, dirt, salt, and environmental contaminants. Properties in coastal areas or those exposed to heavy pollution may need cleaning every 6-12 months. Regular inspections help identify dirt buildup, mould, or mildew early. Routine maintenance extends paint durability and prevents premature peeling or fading caused by prolonged surface contamination.
Can you pressure wash painted exterior walls?
Yes, but with caution. Use low-pressure settings (below 1500 PSI) and maintain a distance of at least 30-60 centimetres from the surface. Avoid high-pressure jets directly on paint, as they can strip or damage the topcoat and expose bare surfaces. Never point the nozzle upward or at angles that force water behind paint edges. Test on an inconspicuous area first and consider soft-bristle brushes or low-pressure rinsing for delicate finishes.
How do you remove mould from painted exterior walls without damaging the paint?
Use a biocide or mould-specific cleaner diluted according to product instructions. Apply with a soft brush or cloth, allow adequate dwell time (typically 10-15 minutes), then rinse gently with low-pressure water. Avoid scrubbing aggressively or using wire brushes, which can scratch or strip paint. For stubborn mould, repeat the process rather than increasing pressure. Ensure good drainage and ventilation around the wall to prevent regrowth.