 how-to
How to Prepare Your Driveway for Pressure Cleaning
Table of Contents
- Why Driveway Preparation Matters Before Pressure Cleaning
- Clear the Area of Vehicles, Furniture, and Obstacles
- Remove Loose Debris and Sweep the Surface
- How to Remove Oil Stains from Concrete Driveway Before Washing
- Protect Your Plants and Landscaping During Pressure Cleaning
- Assess Your Driveway Surface and Check Drainage
- How Often Should You Pressure Clean Your Driveway
- DIY vs Professional Pressure Cleaning Cost Comparison
- Frequently Asked Questions
Last Updated: September 25, 2026
Why Driveway Preparation Matters Before Pressure Cleaning
Learning how to prepare your driveway for pressure cleaning is essential for successful results. Most homeowners skip this step and end up with disappointing results or damaged surfaces.
Preparation protects your property by removing obstacles that could be damaged, clearing debris that scratches surfaces, and identifying problem areas like oil stains or cracks.
Proper preparation transforms cleaning outcomes. When driveways are prepared correctly, pressure washing restores surfaces to near-original condition.
Clear the Area of Vehicles, Furniture, and Obstacles
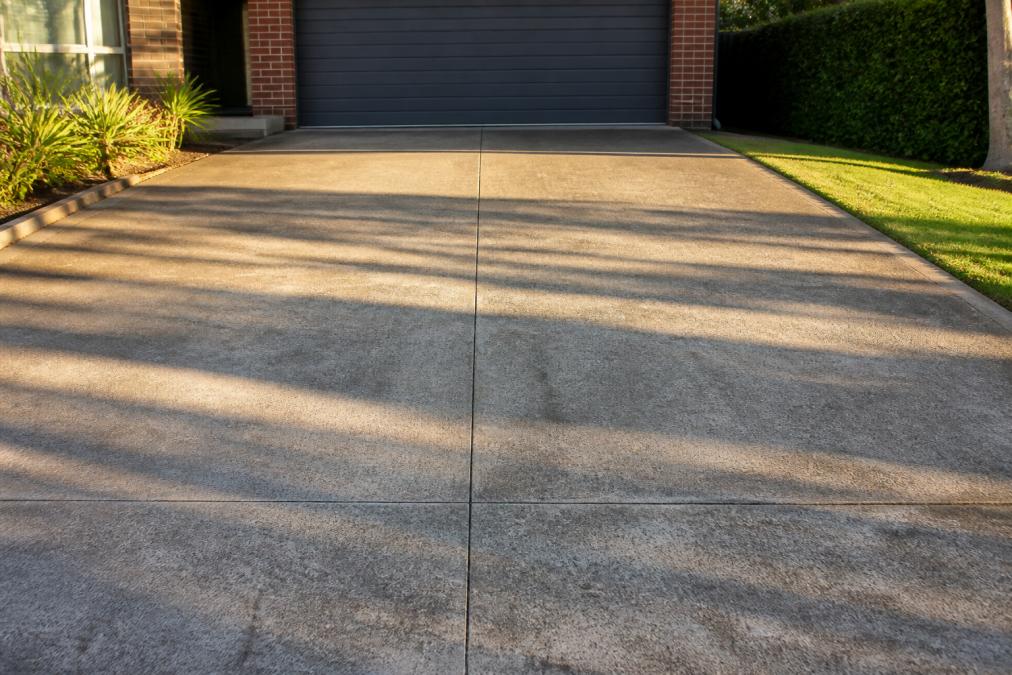
Before you even think about water pressure, remove everything from your driveway. This includes cars, bins, garden pots, outdoor furniture, and any other items sitting on or near the surface.
High-pressure water can damage vehicles, dent bins, and shatter pottery. A 4000 PSI pressure washer can strip paint and dent car panels in seconds.
Move your car to the street, roll bins to the side, and take in outdoor furniture. Ensure clearance for equipment and hoses.
Scan for loose rocks, tools, toys, and sports equipment, even small pebbles become dangerous when hit by pressurised water.
Remove Loose Debris and Sweep the Surface
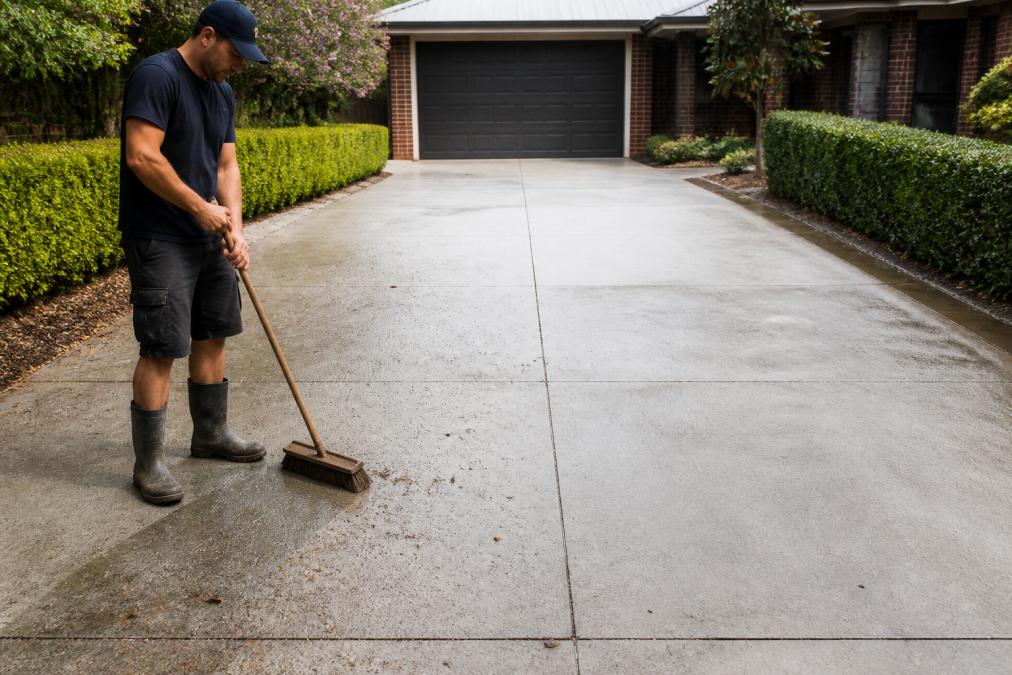
Remove loose dirt, leaves, and debris using a stiff-bristle broom or leaf blower.
Work from top to bottom, sweeping debris toward the street. Pay attention to edges and cracks where dirt accumulates.
Use a leaf blower on moderate speed to clear larger debris across the entire surface.
Loose debris blocks water flow and prevents the pressure washer from reaching concrete. Sand and grit scratch surfaces, and leaves trap moisture causing algae growth. A clean surface ensures better water contact, even results, fewer scratches, and faster cleaning time.
How to Remove Oil Stains from Concrete Driveway Before Washing
Oil stains require pre-treatment; pressure washing alone won't lift them completely, especially old stains.
Fresh oil stains are darker and wet-looking; old stains are lighter and absorbed into concrete. Old stains may require stronger solutions.
Use a degreaser. Apply a concrete degreaser directly to the stained area. Let it sit for 15-30 minutes. This gives the product time to break down the oil. Follow the product instructions for application and contact time.
For stubborn stains, use a stiff-bristle brush with firm pressure to work the degreaser into the concrete.
Rinse before pressure washing. Some degreasers need to be rinsed away before pressure washing. Others work better if left on. Check your product's instructions.
Consider professional-grade treatments. For very old or large stains, professional-strength degreasers work better than retail options.
Common mistakes: applying degreaser and immediately pressure washing, using too much product, or skipping pre-treatment entirely. Pre-treating oil stains dramatically improves results.
Protect Your Plants and Landscaping During Pressure Cleaning
High-pressure water can damage plants, strip bark from trees, and wash away soil. Beyond physical protection, however, you must manage the runoff responsibly, cleaning products, oil residue, and sediment can harm gardens, local waterways, and storm drain systems. Protecting your landscaping is both practical and environmentally responsible.
Delicate flowers, young shrubs, and soft-leafed plants are most at risk. Established trees and hardy shrubs are more resilient but still deserve protection.
Create physical barriers. Use plastic sheeting, cardboard, or plywood to shield plants from direct water spray. Stake it firmly in place so it doesn't blow away. For trees, wrap trunks loosely with cardboard or old blankets to protect bark. This simple step prevents damage and contains runoff.
Pressure washing runoff carries sediment, oil, grease, and chemicals. Direct runoff away from storm drains and vegetable gardens. Use biodegradable, eco-friendly cleaning solutions. For heavy stains, contain runoff temporarily with absorbent material and dispose responsibly.
Pressure wash on a day when rain isn't forecast for at least 24 hours to prevent runoff mixing with stormwater. Avoid washing immediately after rain when soil is saturated.
Keep the nozzle away from established plants and roots. After pressure washing, water plants thoroughly to rinse away sediment or chemical residue.
Protecting your landscaping shows respect for your property and your environment. It's a small effort that prevents regrettable damage and helps keep your local waterways clean.
Assess Your Driveway Surface and Check Drainage
Different driveway materials need different pressure settings, and understanding your surface type before you start is essential to avoid costly damage. Beyond material type, however, you must inspect for existing damage and drainage problems that pressure washing can worsen.
Identify your driveway material. Concrete, asphalt, and pavers each have different tolerances for pressure and water temperature.
Concrete driveways are durable but can be damaged by excessive pressure. Most concrete does well at 3000-3500 PSI. Higher pressures can pit or spall the surface. Concrete is also porous, so water penetrates cracks and can freeze in winter, expanding and widening damage.
Asphalt driveways are softer and more vulnerable. Keep pressure below 2500 PSI. High pressure can strip the seal coat or create divots. Asphalt also softens in heat, so avoid pressure washing on very hot days (above 30°C is risky). Asphalt is prone to rutting under heavy equipment, so be cautious with pressure washer weight and hose placement.
Paver driveways require the most care. Use lower pressure (under 2000 PSI) and wider spray patterns. High pressure can dislodge pavers or force water between joints, destabilising the entire surface. Polymeric sand in joints can be washed out by aggressive pressure, requiring expensive re-sanding.
-
Check for cracks. Pressure washing can widen existing cracks by forcing water into them. Small hairline cracks (under 3 mm) are usually safe, but wider cracks may need repair first. If cracks are actively leaking water or have displaced edges, consider professional assessment before pressure washing.
-
Look for loose or sunken pavers. Walk across the entire surface and note any pavers that move, rock, or sit lower than neighbours. Pressure washing can dislodge these further. Loose pavers should be reset or replaced before cleaning.
-
Scan for moss, algae, or mould growth. These indicate moisture retention and poor drainage. Moss on pavers or concrete suggests water is pooling or draining slowly. Address drainage issues before pressure washing, or you'll simply redistribute the problem.
-
Check for spalling or pitting. Spalling is when the surface flakes or peels away (common on older concrete). Pitting is small holes or divots. Both indicate the surface is already compromised. Pressure washing can accelerate spalling, so use gentler pressure (2500 PSI or lower) on damaged concrete.
-
Identify low spots. Walk the driveway after rain or use a hose to see where water pools. Pooling water indicates poor slope or blocked drainage. Pressure washing will send water to these same spots, potentially creating flooding or water damage to nearby structures.
-
Check gutters and downpipes. Ensure they direct water away from the driveway and house foundation. Blocked gutters can cause water to overflow onto the driveway, and pressure washing runoff should not flow toward the house.
-
Look for storm drain proximity. If your driveway is near a storm drain, plan your pressure washing direction to avoid sending debris and chemical runoff directly into it. Many councils require responsible stormwater management; check your local council's guidelines on driveway cleaning runoff.
-
Note garden bed locations. Runoff from pressure washing will carry dirt, oil residue, and any cleaning products. Direct this flow away from vegetable gardens, native plantings, and sensitive areas.
How Often Should You Pressure Clean Your Driveway
Driveway cleaning frequency depends on your climate, foot traffic, and how quickly dirt accumulates.
Watch for warning signs:
- Visible algae or mold growth
- Oil or grease stains
- General dullness or discoloration
- Slippery surfaces (indicates algae or mold)
| Driveway Type | Recommended Frequency | Climate Factor |
|---|---|---|
| Concrete | Every 1-2 years | Increase to annual in wet/shaded areas |
| Asphalt | Every 1-2 years | Annual in coastal or high-rainfall zones |
| Pavers | Every 1-2 years | Annual if moss or algae appears |
DIY vs Professional Pressure Cleaning Cost Comparison
Deciding between DIY and professional cleaning depends on your budget, time, and comfort level with equipment.
DIY works well if:
- Your driveway is small and lightly soiled
- You have experience with pressure washers
- You have time on weekends
- You're comfortable with physical work
DIY challenges:
- Risk of surface damage if you use too much pressure
- Difficulty reaching corners and edges evenly
- Equipment can be heavy and tiring to manoeuvre
- Results may be streaky or uneven
- No warranty if something goes wrong
Professional services make sense if:
- Your driveway is large or heavily soiled
- You have stubborn stains that need specialised treatment
- You want guaranteed results
- You value your time
- Your driveway is pavers or another delicate material
Frequently Asked Questions
Do I need to clear my driveway before professional pressure cleaning?
Yes. Clearing vehicles, bins, garden furniture, and other obstacles allows the pressure washing team to access the entire surface safely and efficiently. Remove any loose items that could be damaged by water spray or get in the way of equipment movement. This preparation also prevents delays and ensures the professional can deliver consistent, thorough results across your entire driveway.
What is the best way to pre-treat oil stains on a concrete driveway?
Apply a degreaser specifically designed for concrete at least 24 hours before pressure washing. Let the product sit on the stain to break down the oil, then gently scrub with a stiff-bristle broom. This pre-treatment makes pressure washing more effective and prevents oil from being pushed deeper into the concrete. For stubborn stains, a second application may be needed before professional cleaning.
How do I protect my garden beds and plants during driveway pressure cleaning?
Wet your garden beds thoroughly before cleaning begins, this reduces the impact of runoff and protects root systems. Lay down protective sheeting or cardboard over sensitive plants. Shield landscaping edges with plywood or barriers to prevent overspray damage. After cleaning, rinse the garden area again to dilute any cleaning solution residue and prevent plant damage from concentrated chemicals.
What safety precautions should I take when preparing for pressure washing?
Wear safety goggles, closed-toe shoes, and protective gloves when handling cleaning solutions. Check the area for trip hazards, loose paving, or uneven surfaces that could cause accidents during the cleaning process. Keep children and pets away from the work zone. Ensure proper drainage is clear so water and runoff flow away from buildings and landscaping. If using DIY equipment, review the PSI and GPM specifications to avoid surface damage.